Introduction to File Formats & Text
Now that we have seen how we can use the command line to create directories and files, and move them around. It seems like we’re doing a lot of work to do something that we could do with a GUI, but the command line is actually much more powerful than a GUI. For example, we can use the command line to do things like search for text in a file, count the number of words in a file, and even delete a file.
Before we try that though, let’s learn a bit more about what files are exactly.
Introducing File Formats
What constitutes a document or a file might seem obvious, but is actually a robust and ongoing scholarly debate in Library and Information Sciences (LIS) and Computer Science (CS). To put it a bit simply, a file is a collection of data stored in a single unit, identified by a filename. It can be a document, an image, a video, a sound, or any other collection of data. The file extension is the part of the file name after the period. The file extension tells the computer what type of file it is and what program to use to open it.

There are many different file formats and each one has its own purpose. For example, a .docx file is a Microsoft Word document, a .jpg file is an image, and a .mp3 file is an audio file. Some file formats depend on particular software ecosystems, meaning they may work best in certain programs even if other tools can sometimes open them. For example, .docx files are designed for Microsoft Word and similar word processors. So if you try to open a Word document in a PDF viewer or plain text editor, you might see what looks like a bunch of gibberish.
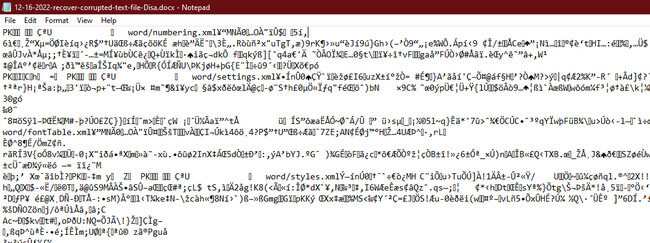
This gibberish is actually part of the structured information that makes up the file, but since the PDF viewer or text editor doesn’t know how to interpret that structure, it shows you the underlying contents rather than the formatted document.
Other file formats are open or plain text based, meaning they can be opened by many different programs and are easier to inspect directly. For example, .txt files are plain text files that can be opened by any text editor. When we used the touch command, we told the terminal to create a .txt file. This is because .txt files are the simplest file format and only contain text. They do not contain any formatting like bold, italics, or images.
What is Plain Text?
Today, we have been talking a lot about text, from text commands to text files. But the core concept with both of these is the idea of plain text.
As scholars working with computers, we need to be aware of the ways plain text and formatted text differ. While a Word document and a .txt file might look the same to us, the Word document actually contains a lot of hidden formatting that the .txt file does not. In programming, we want to be explicit in our communications with computers and so plain text is preferable, but what is it exactly?
What is the Unicode Consortium?
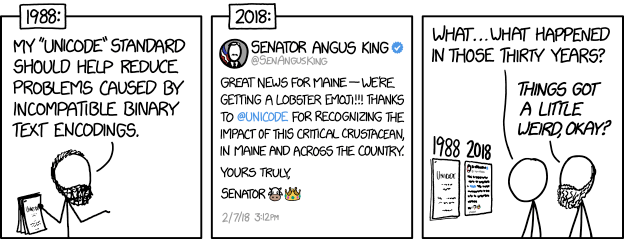
To understand plain text, we also need to understand that computers do not automatically “know” what a letter, punctuation mark, emoji, or symbol is. Those characters have to be represented through shared standards. One of the most important organizations responsible for those standards is the Unicode Consortium.
The Unicode Consortium is a nonprofit organization founded in 1991 to develop and maintain the Unicode Standard. Before Unicode, many computer systems used different character encodings, which meant that text could break when it moved across languages, operating systems, or software platforms. A file created on one machine might display incorrectly on another because the two systems did not agree on which numbers represented which characters.
Unicode tries to solve this problem by assigning characters standardized code points. In simplified terms, Unicode gives each character a stable identifier so that computers can exchange text more consistently across systems. This is why we can write not only English letters, but also accented characters, non-Latin scripts, mathematical symbols, and emoji in many modern digital environments.
For our purposes, Unicode matters because it shows that even “plain text” depends on infrastructure, institutions, and decisions about what should be represented. Text may seem simple, but representing text as data requires standards about which characters count, how they are encoded, and how software should interpret them.
According to the Unicode Standard,
Plain text is a pure sequence of character codes; plain Unicode-encoded text is therefore a sequence of Unicode character codes.
This is a bit technical, but the key concept is that plain text shows if it is formatted or not (we call this markup), and usually contains no formatting. Plain text can be moved between programs more fluidly and can respond to programmatic manipulations. It is often manipulated in something called a text editor (like VS Code), which is a program that allows you to edit plain text files.
A Short History of Project Gutenberg
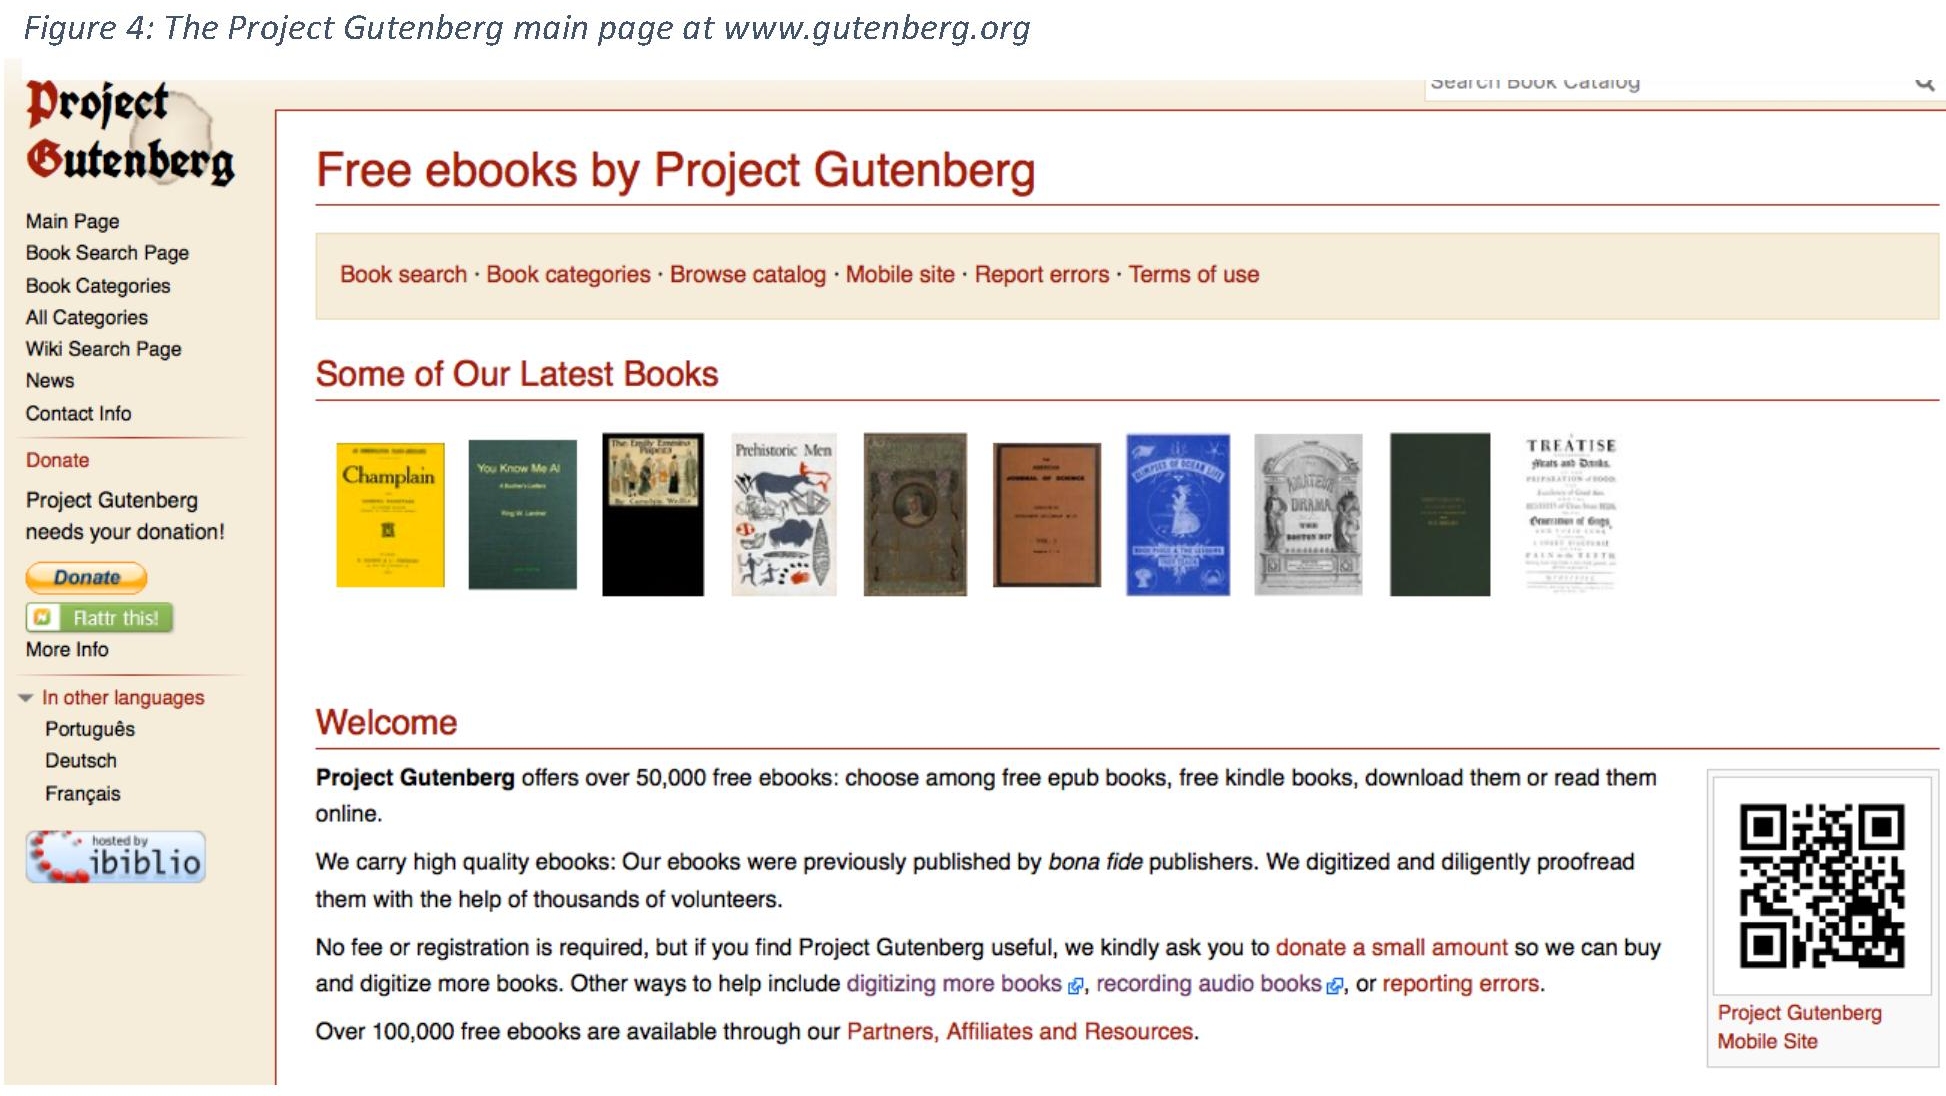
We can see an example of a plain text file through Project Gutenberg, one of the oldest and most important digital text projects. Project Gutenberg began in 1971 when Michael Hart, then connected to the University of Illinois, used access to a mainframe computer to type a digital version of the U.S. Declaration of Independence. His idea was that computers could be used to freely distribute texts to anyone with access to a networked machine.
Project Gutenberg is important for this class because it shows how digitization, plain text, copyright, preservation, and access are connected. The project focuses especially on public domain texts, meaning works that are no longer under copyright or were never protected by copyright and can therefore be legally copied, shared, remixed, and redistributed.
We will discuss copyright more extensively in the coming weeks, but for now it is important to note that copyright is a legal framework that gives creators exclusive rights to their works for a limited time. After that time expires, the work enters the public domain and can be freely used by anyone.

You may sometimes hear people talk about Public Domain Day, which happens every January 1 when new works enter the public domain in many countries.
This also makes Project Gutenberg a useful example of both the power and limits of cultural data. It gives us many texts that are easy to download and manipulate computationally, but those texts arrive through particular histories of selection, copyright, labor, proofreading, and formatting. In other words, even a simple .txt file has a social and institutional history.
You can read more about this history in Project Gutenberg’s background and history materials and its FAQ.
Let’s start with a plain text version of Pride and Prejudice.
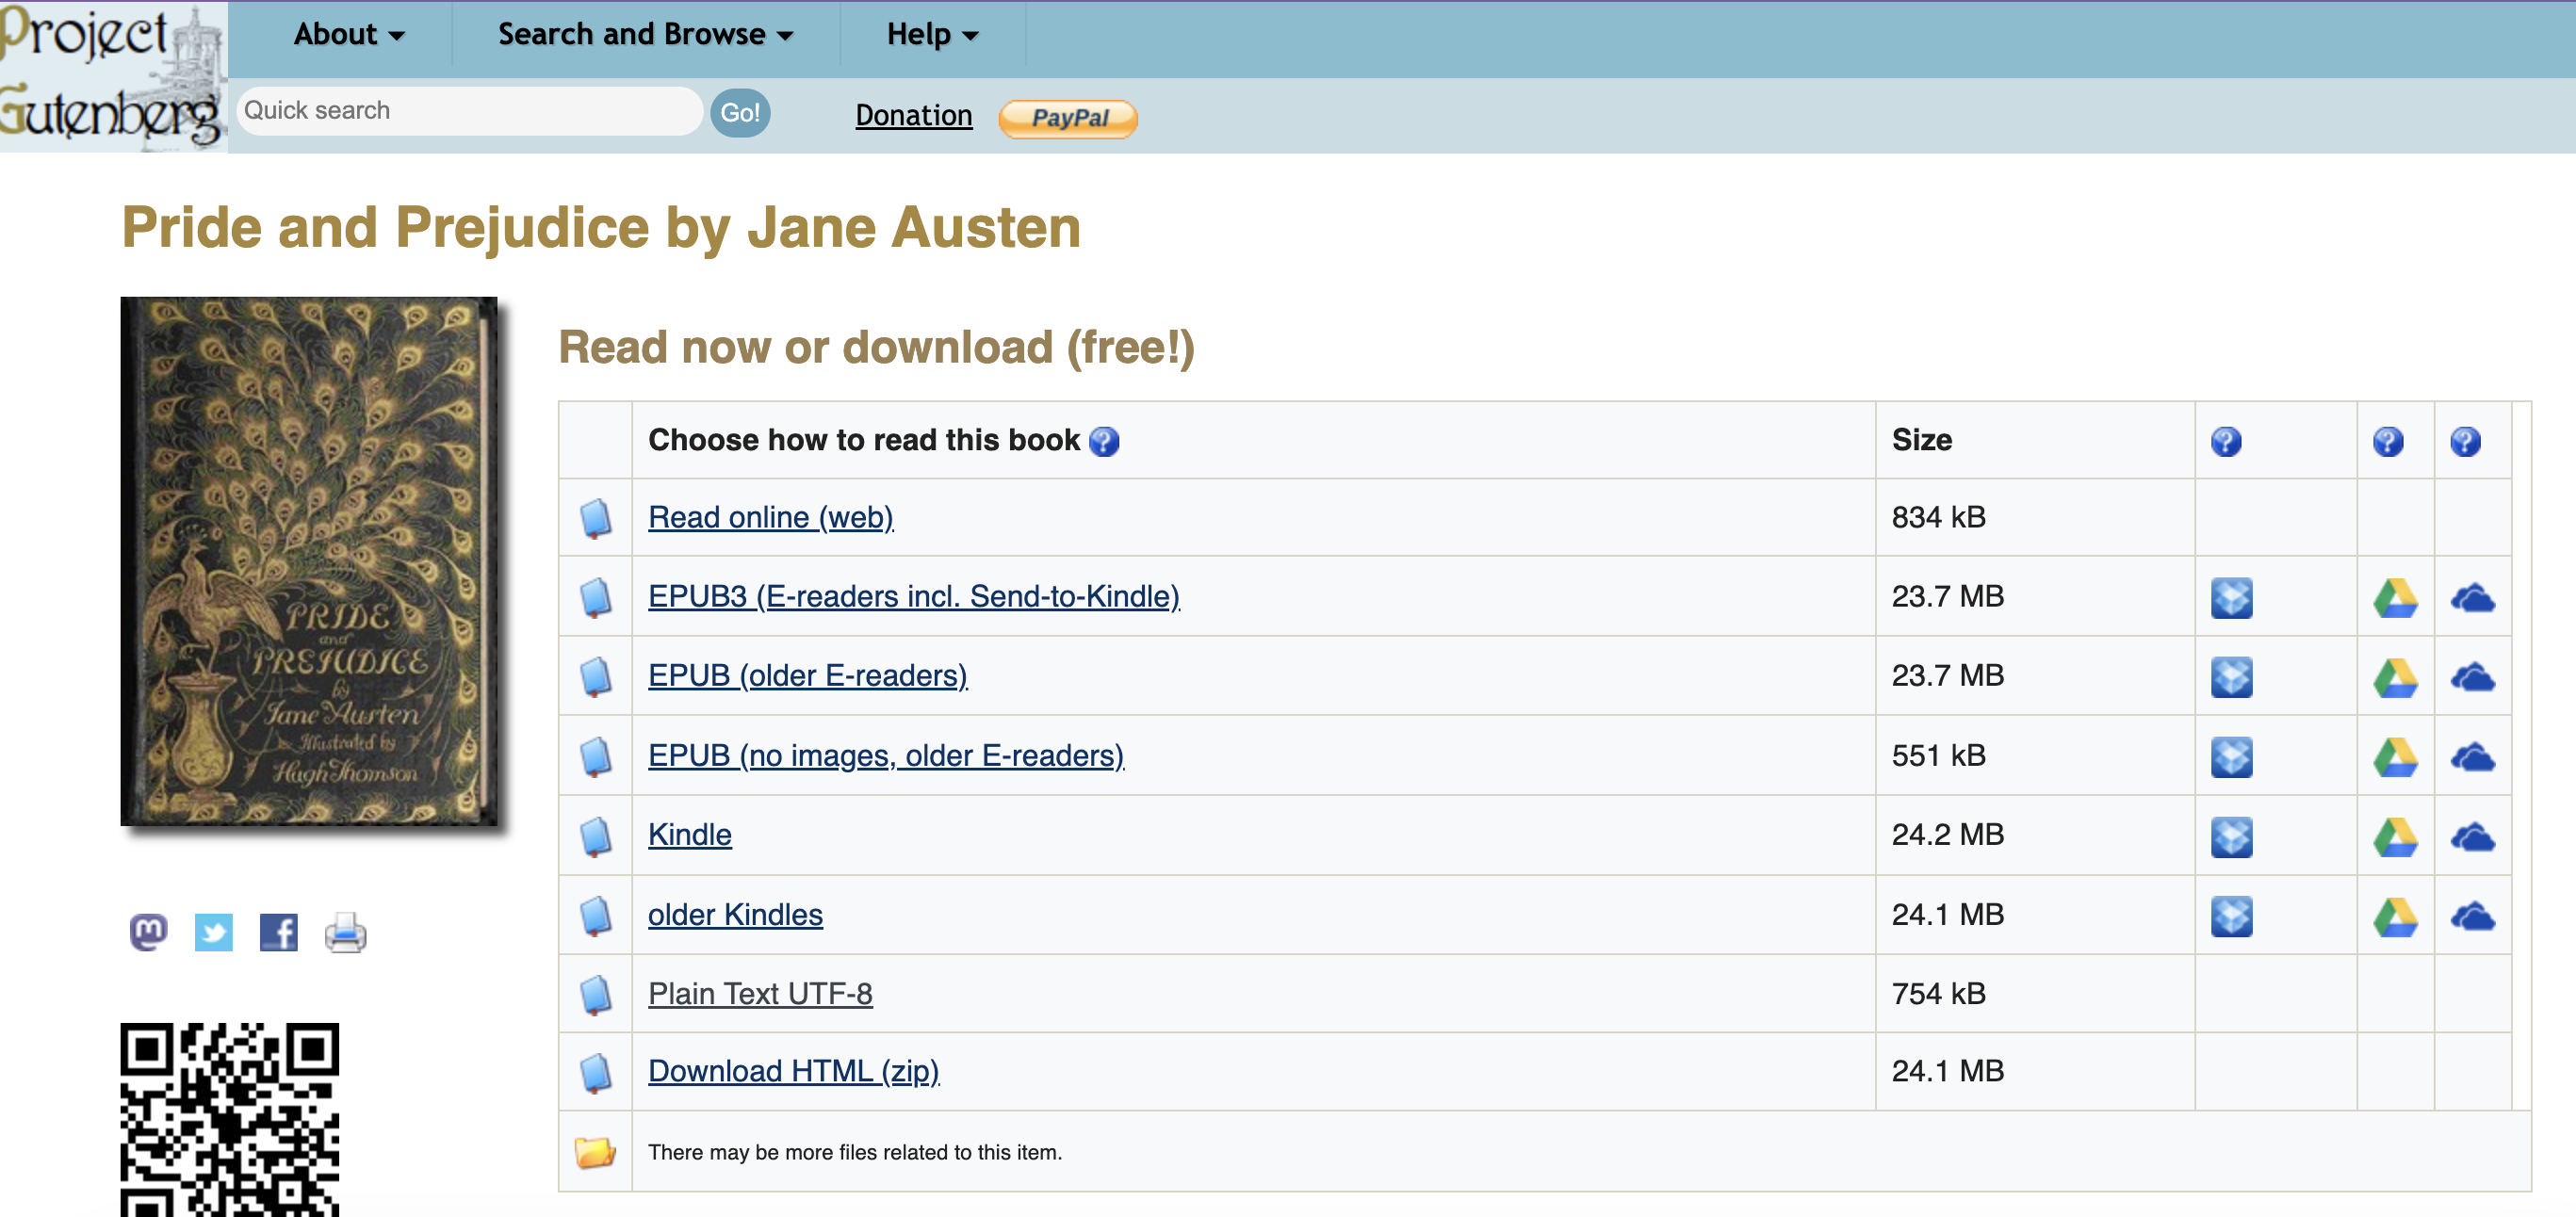
Pride and Prejudice by Jane Austen https://www.gutenberg.org/ebooks/1342
I can download this file directly from my terminal using the command line:
curl https://www.gutenberg.org/files/1342/1342-0.txt > pride-and-prejudice.txtIn this example, I’m using the command curl to download the file from the internet. The > symbol tells the terminal to create a new file, store this data in the file, and save the file as pride-and-prejudice.txt. We can see that this file is a .txt file, meaning it is a plain text file. curl stands for “client URL” and is a command line tool for transferring data and downloading files from the internet. We can also use it to upload files to the internet.
If you are using WSL/Ubuntu on a Windows computer, you can instead use the command wget to download the file from the internet.
wget https://www.gutenberg.org/files/1342/1342-0.txt > pride-and-prejudice.txtwget stands for “web get” and is a similar command line tool for retrieving and downloading files from the web.
If you are using PowerShell and not WSL, the command looks slightly different because PowerShell treats wget as an alias for its own web request command:
wget https://www.gutenberg.org/files/1342/1342-0.txt -OutFile pride-and-prejudice.txtFor the rest of this lesson, I will show the macOS/WSL commands first. If you are using PowerShell, look for the PowerShell examples underneath. The concepts are the same, but some command names and syntax differ. In particular, cat usually works in PowerShell as an alias for Get-Content, but wc and grep do not usually work by default in normal PowerShell.
Now that we have downloaded this file, we can use the command line to display some of the text:
cat pride-and-prejudice.txtcat stands for concatenate, and is a command line tool for displaying the contents of a file. We can see that this file contains the text of Pride and Prejudice by Jane Austen (though you’ll likely only see the end of the text since it is so long, without scrolling for ages).
In PowerShell, cat usually works because it is an alias for Get-Content. To be explicit, you can use Get-Content, which reads the contents of a file:
Get-Content pride-and-prejudice.txtWe can start to interact with this file in a number of ways.
First, let’s count how many words are in this file. To do this, we can use the command wc -w. Let’s try it out!
wc -w pride-and-prejudice.txtwc stands for word count, and the -w flag tells the terminal to count the number of words in the file. You’ll often notice that commands have flags like this, which are additional instructions for the command.
The wc command does not usually work by default in PowerShell. Instead, the word count command is a bit longer:
(Get-Content pride-and-prejudice.txt | Out-String).Split().CountWe can also use the command wc to count the number of lines in a file with the -l flag. Let’s try it out!
wc -l pride-and-prejudice.txtSince PowerShell does not usually include wc, you can count lines like this:
(Get-Content pride-and-prejudice.txt).CountWe should see that there are 14911 lines in this file.
We can also search for a specific word in a file using the command grep. Let’s try to find out how often the word “pride” appears in this file. To do this, we can use the command grep pride pride-and-prejudice.txt. Let’s try it out!
grep pride pride-and-prejudice.txtThe grep command does not usually work by default in PowerShell. The closest equivalent is Select-String:
Select-String "pride" pride-and-prejudice.txtThis should give us the following output:
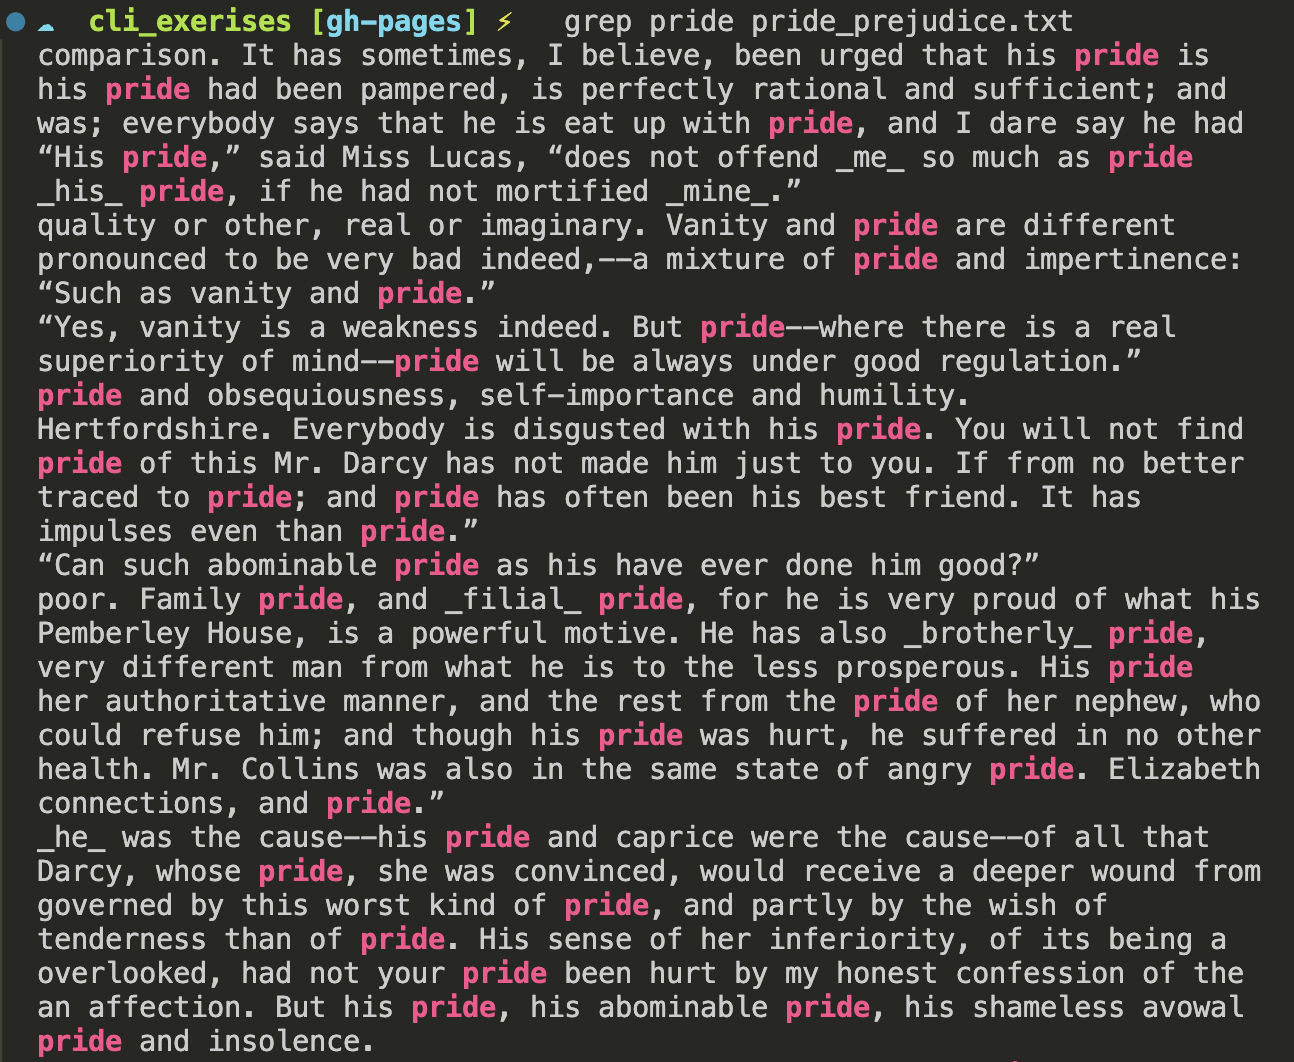
How could we count the number of lines where the word “pride” appears in this file? We could use the command wc -w to count the number of words, but that would count all words, not just “pride.” Instead, we can use the command grep -c pride pride-and-prejudice.txt.
grep -c pride pride-and-prejudice.txtIn PowerShell, we can count the number of matching lines like this:
(Select-String "pride" pride-and-prejudice.txt).CountWe can see that “pride” appears on 43 lines in this file. This is not quite the same thing as counting every individual occurrence of the word, since a line could include the same word more than once. How many lines include the word “prejudice”?
Introducing Markdown
While .txt files are useful, in digital humanities we often use a file format called Markdown. Like txt, Markdown is a plain text file format that uses symbols to add formatting to the text, and has the file extension .md. You have already seen an example of this with the README.md files on GitHub.
Let’s try creating a Markdown file in our folder. We can do this by using the touch command and adding .md to the end of the file name.
macOS/Linux/WSL
touch is310-culture-as-data.mdPowerShell
New-Item -ItemType File -Name is310-culture-as-data.mdNow we can open this file in VS Code and add some text to it.
Culture as Data asks how cultural materials, practices, and communities become structured, interpreted, and transformed through data.Now if we wanted too, we could add some formatting to this text using Markdown.
Maybe we want to highlight the phrase “Culture as Data” in bold. To do this we would put two asterisks on either side of the phrase.
**Culture as Data** asks how cultural materials become structured data.We could also put structured data into italics by putting one asterisk on either side of the phrase.
**Culture as Data** asks how cultural materials become *structured data*.Finally, we could add a heading to this text by putting a hashtag in front of the heading.
# Welcome to Culture as DataWe can see what this looks like in VS Code by using the Markdown Preview extension. To do this, click on the icon in the top right corner of VS Code that looks like a magnifying glass. This will open a preview of the Markdown file in a new tab.
You should see something like this, where our Markdown file is on the left and the preview is on the right:

Now you can see that our formatting has been applied to the text. This type of formatting is called Markdown syntax and it is a way of adding formatting to plain text files. What we did was exactly the same as what you do when you use the buttons in Word or Google Docs to add headers or styling to your text. The difference is that we are using symbols to add this formatting instead of buttons.
This may seem like a lot of extra work, but the advantages of Markdown are numerous.
- It is much more sustainable than Word or Google Docs. This is because the text is saved as plain text and not in a format that is optimized for editing. This makes it future-proof so that you don’t require a license or access to an application to see your files.
- It can also be rendered by any text editor. This is because Markdown is a plain text format and not a rich text format. This makes it platform agnostic.
- Finally, Markdown plays nicely with GitHub, which renders it directly in your browser. This makes it easy to push up your files into your repositories.
Markdown was created by John Gruber with help from Aaron Swartz in 2004. The goal was to create a file format that was easy to read and write, could be converted into web documents, and could be used by anyone. You can read more about the history of Markdown, in Bednarski, Dawid. “The History of Markdown: A Prelude to the No-Code Movement.” Taskade Blog, March 25, 2022. https://www.taskade.com/blog/markdown-history/.
Aaron Swartz, Creative Commons, and Access

Aaron Swartz matters to this history not only because of Markdown, but because he was part of a broader movement around open access, open standards, and the public web. As a teenager, Swartz helped with the technical infrastructure for Creative Commons, an organization founded in 2001 to give creators legal tools for sharing their work more flexibly than the default model of “all rights reserved” copyright. Creative Commons licenses do not eliminate copyright. Instead, they let creators specify how others may copy, share, adapt, or cite their work.
This matters because many kinds of cultural and scholarly materials are not in the public domain. They may be owned by publishers, platforms, archives, estates, universities, or other rights holders. In higher education, students and researchers often encounter this through content vendors like JSTOR, which preserve and provide access to scholarly journals, books, and primary sources, often through institutional subscriptions and licensing agreements.
Swartz’s life and death are often discussed in relation to these questions of access. In 2011, he was arrested after downloading millions of academic articles from JSTOR through MIT’s network. JSTOR later said it had reached a civil settlement with Swartz and did not want the matter to continue as a criminal case, but federal prosecutors pursued charges under computer crime law. Swartz died by suicide in January 2013 while the case was ongoing.
This is one reason Project Gutenberg is such a useful contrast. Project Gutenberg works primarily with public domain texts, so its plain text files are legally shareable in ways that subscription databases usually are not. That does not make Project Gutenberg neutral or complete, but it does show how copyright status, licensing, institutional access, and file formats shape what kinds of culture become easy to download, preserve, and analyze.
It’s also important to understand that Markdown has this history because many flavors of Markdown exist, and standardization of Markdown has been an ongoing project. For example, GitHub Flavored Markdown (GFM) is a flavor of Markdown that was created by GitHub in 2009. It is a superset of Markdown, meaning it adds additional features to Markdown. For example, GFM allows you to create tables in Markdown, which is not possible in regular Markdown. You can read more about GFM in “GitHub Flavored Markdown Spec.” GitHub, 2022. https://github.github.com/gfm/.
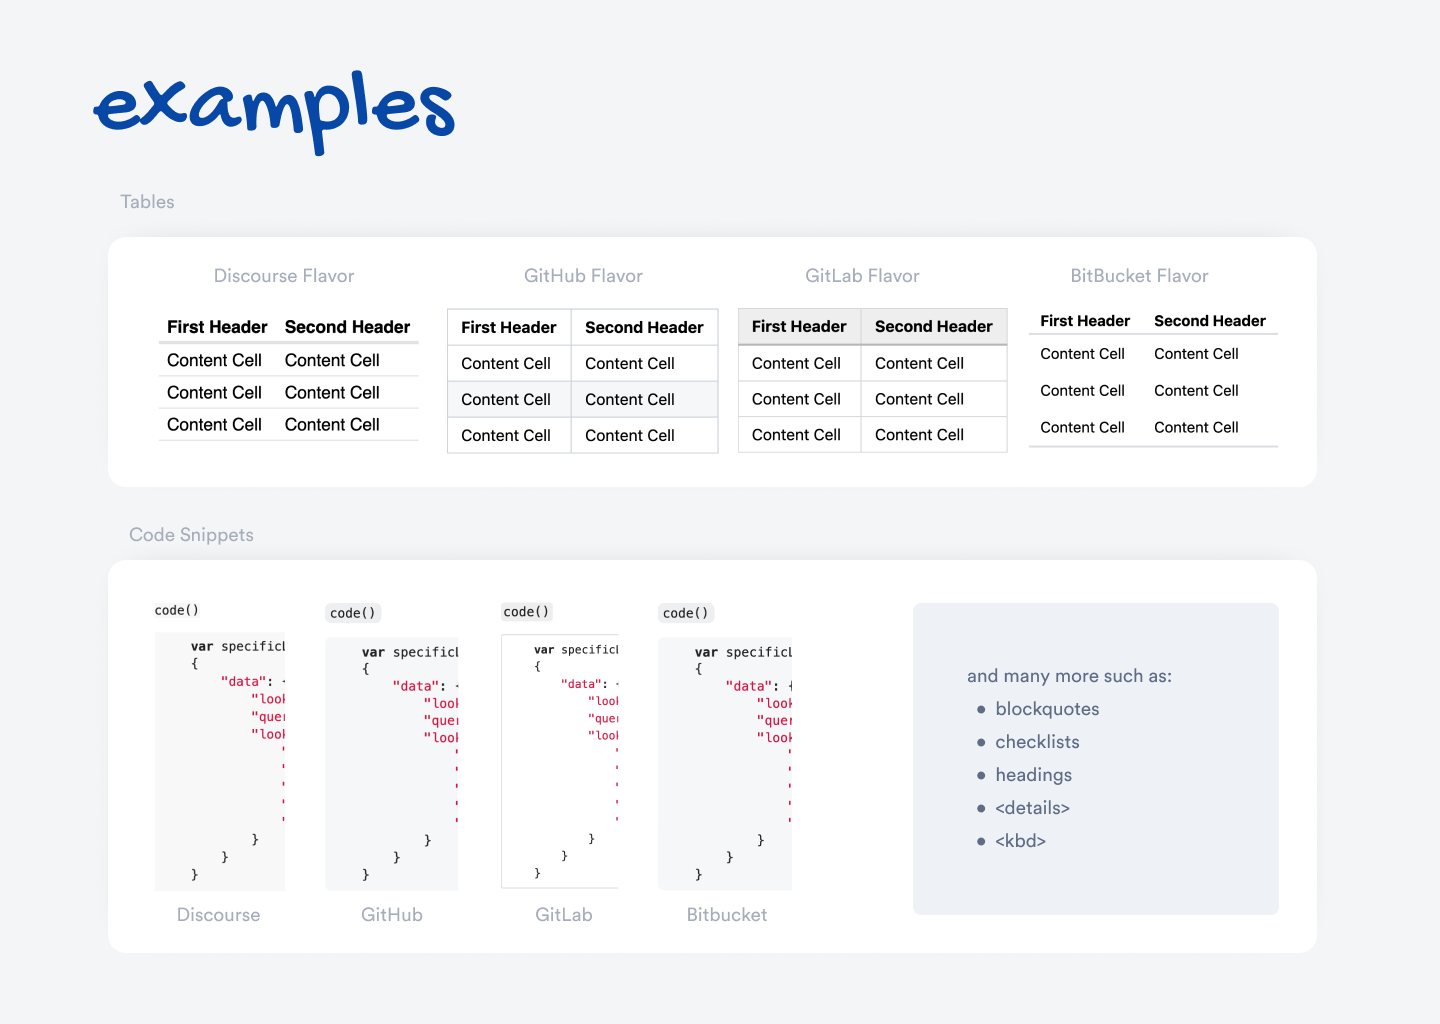
This figure shows some examples of how Markdown is written depending on the platform and standards. You can also see some of the discussions that go on to help shape these standards through the various repositories on GitHub that host the standards. For example, CommonMark is another popular Markdown style and improvements to it are discussed in this repository https://github.com/commonmark/commonmark-spec/issues.
Practice Exercise
Now that you have a basic understanding of Markdown, let’s try improving the README.md file in our is310-coding-assignments repository. To do this, we are going to use the Markdown Preview extension in VS Code. First, currently your README.md is your first assignment Init IS310 Homework. However, that is not very sustainable for the course since all your assignments will be in that folder. So, your first goal is to clean up your repository so that your first homework assignment has it’s own folder init_is310, which contains your initial README.md and any images. Then you will create a new README.md file in the root of your is310-coding-assignments that will be the main home page for your homework repository.
In the README.md, you should add the following elements:
You can use both AI tools and this GitHub Markdown Cheatsheet to help you. Once you’ve completed the exercise, push up your changes to GitHub.
Homework: Lost & Found in the Cultural Command Line

This assignment has two goals:
- Explore the cultural framing for your broader topic of interest. By building a maze themed around your cultural data topic, you’ll start developing the cultural framing for the work you’ll do this semester.
- See how your group members each approach the topic. By solving your group members’ mazes, you’ll get to see how others in your group think about and frame the same broad area of interest differently.
Part 1: Build a Cultural Data Maze
For this assignment, you will be using your new mastery of the command line to create a maze themed around your broader cultural data topic of interest for your group members to solve. Your directories, files, and clues should connect to the cultural data topic you are interested in exploring this semester. For example, if you’re interested in the history of video games, your maze directories and files could reference game titles, developers, eras, or genres. You should work individually on this, though you are welcome to brainstorm ideas.
First, you should create a new folder in your is310-coding-assignments repository called command-line-maze. Inside this folder, you should create a maze using directories and files.
Your maze should have the following components:
You are welcome to use Project Gutenberg https://www.gutenberg.org/ for your files, but you can also use other files if you prefer. You can also use the command line to create your files, but you can also use a text editor if you prefer.
You also need to include a README.md file in your maze folder that provides any relevant instructions for solving the maze. This could include a list of commands that we should use to solve the maze, or any other information that you think would be helpful. Be sure to include a header at the top of the file that lists the name of the maze and your name.
Once you have created your maze, you should zip the folder that contains your maze. If you do not know how to zip a file, you can usually right click on the file and select “Compress” or “Zip”. If you are using the command line, you can use the command zip -r path/to/your/zip/file path/to/your/directory to zip the file. Be sure to replace these dummy file paths with your actual desired ones (or ask AI for help!).
On PowerShell, you can use Compress-Archive:
Compress-Archive -Path "path\to\your\directory" -DestinationPath "path\to\your\zip\file.zip"Be sure to not zip the README.md file, as we will need to read this file to solve the maze. Once you have zipped your maze, you should upload it to your is310-coding-assignments repository and post a link in our GitHub discussion https://github.com/CultureAsData-UIUC/is310-fall-2026/discussions/2.
If you need inspiration for your maze, take a look at this one I created, which you can download as a zip file{:download target=“_blank”} or via our GitHub repository (you can also try solving it if you like!).
Hiding Files (Important Cross-Platform Note)
Different operating systems handle “hidden” files differently. So far, we have seen what are called dotfiles which is a type of hidden file or directory. These are hidden by default on Mac/Linux but not on Windows if you are running PowerShell.
If you want your hidden files and folders to behave as hidden on Windows, include a PowerShell script in your maze folder named: hide-dotfiles.ps1.
In the file, place the following code:
# Hide all dotfiles and dotfolders recursively from the current directory

Get-ChildItem -Recurse -Force |
Where-Object { $_.Name.StartsWith('.') } |
ForEach-Object {
    attrib +h $_.FullName
}
Then update your instructions to tell Windows’ PowerShell users to first run this command .\hide-dotfiles.ps1 from the maze once they have unzipped your folder. Please reach out to the instructors if you have any questions or issues with this script!
PowerShell can be finicky with permissions so if you are still getting issues you might try running PowerShell as an administrator or running this command:
Set-ExecutionPolicy -Scope Process -ExecutionPolicy Bypass
.\hide-dotfiles.ps1
Part 2: Solve Your Group Members’ Mazes
Once you have created and zipped your maze, pushed it up to GitHub, and posted a link in our discussion, it’s time to solve your group members’ mazes. You are required to solve at least two mazes from students in your own group. This is your chance to see how others in your group are approaching the same broad cultural data topics!
The first step is to select one of your group members’ mazes from the discussion link and try cloning their repository to your computer. If you have never cloned a repository before, you can read about how to do it in the Advanced Git and GitHub Lesson. Remember if you have setup SSH keys, you can use the SSH link, otherwise you can use the HTTPS link.
git clone name-of-repoOnce you have cloned the repository, you should use the command line to enter the maze folder. If you are having issues with cloning, you can also download the zip file and unzip it on your computer. But I would recommend trying to clone the repository first, since it is a very useful skill to have and one you will often need as a coder.
To enter the cloned repository, you can do this by using the cd command to navigate to the maze folder. You can read the README.md file to get any relevant instructions for solving the maze. To print out the contents of the file, you can use the cat command.
macOS/Linux/WSL
cat README.mdPowerShell
Get-Content README.mdOnce you are in the maze folder and have read the instructions, you should unzip the maze.
For Unix/Linux (so Macs, Linux, and the Window Subsystems for Linux), you can use the following command:
unzip path/to/your/zip/file -d path/to/your/desired/directoryThe -d flag is just telling the terminal where to unzip the file. So if you are already in the correct spot, you can just use unzip path/to/your/zip/file.
If you are using PowerShell, you will need to use the following command:
Expand-Archive -Path "path\to\your\zip\file" -DestinationPath "path\to\your\desired\directory"Again the -DestinationPath flag is just telling the terminal where to unzip the file. So if you are already in the correct spot, you can just use Expand-Archive -Path "path\to\your\zip\file".
Be sure to replace these dummy file paths with your actual desired ones (or ask AI for help!). You should be able to solve the maze in ~30 minutes, but if you are struggling, please reach out to the instructors via Slack for help.
Once you have solved the maze, you should reply to your peer’s post in the discussion, letting them know that you were successful and posting a screenshot of your solved maze in your terminal. If you have any issues with the maze, you’re welcome to request help on their post, but please try to solve it on your own first.
Remember: you must solve at least two mazes from students in your own group. Repeat the steps above for each maze you solve. Pay attention to how your group members framed their cultural data topic. You’ll start to see different perspectives on the same broad area of interest. You are also welcome to solve additional mazes beyond the required two if you like.
Additional Resources
In addition to the resources, I linked at the beginning of this lesson, I would recommend the following:
- Ian Milligan and James Baker, “Introduction to the Bash Command Line,” The Programming Historian 3 (2014), https://programminghistorian.org/en/lessons/intro-to-bash. This is an introduction to the Bash shell, which will serve well enough as an introduction to other shells like Zsh as well.
- Bash Basics Part 1 of 8 Access and Navigation
- Beginner’s Guide to the Bash Terminal
- The Most Important Thing You’ll Learn in the Command Line
- Go through the CodeAcademy command line course.
- Shell Scripting Tutorial